Configuration
Widget Type
The widgetType config value controls whether both Helpcenter and Web Chat or only Helpcenter or only Web Chat should be loaded in Helpshift Widget.
To show both Helpcenter and Webchat in the Helpshift Widget, use the following configuration
helpshiftWidgetConfig.widgetType = "helpcenter_and_webchat";
To show only Helpcenter in the Helpshift Widget, use the following configuration:
helpshiftWidgetConfig.widgetType = "helpcenter";
To show only Webchat in the Helpshift Widget, use the following configuration:
helpshiftWidgetConfig.widgetType = "webchat";
The widgetType configuration will not work with updateHelpshiftWidgetConfig API. It will work only during the initial load while you are embedding the Helpshift Widget code in your website/app (as mentioned here).
Widget Configuration
Helpshift allows you to configure the widget by passing configuration options in the helpshiftWidgetConfig object.
Widget Options
To configure the widget's behavior, you'll need to add widgetOptions to the Embed Code. All of the widget specific options go here.
(function () {
  // The following part remains as it is in the Embed Code.
  var PLATFORM_ID = "<YOUR_PLATFORM_ID>",
    DOMAIN = "<YOUR_DOMAIN>",
    APP_ID = "<YOUR_APP_ID>",
    WIDGET_TYPE = "<WIDGET_TYPE>";

  window.helpshiftWidgetConfig = {
    platformId: PLATFORM_ID,
    domain: DOMAIN,
    appId: APP_ID,
    widgetType: WIDGET_TYPE
  };

  /* Widget Options Start */
  helpshiftWidgetConfig.widgetOptions = {
    // All widget specific options go here.
  };
  /* Widget Options End */
})();
Enable Fullscreen View for Pop-ups
If you want to open the widget in full screen mode on a non-mobile device, you can pass through the fullScreen option in widgetOptions.
helpshiftWidgetConfig.widgetOptions = {
  // ...
  fullScreen: true,
};
On mobile devices and on low resolution tablets and desktops, the widget will open in full screen mode.
Show/Hide Launcher
You can hide the default widget launcher and use your own launcher. You can control opening and closing of the widget window using the open and close APIs. Add the following option in widgetOptions to hide the default widget launcher.
helpshiftWidgetConfig.widgetOptions = {
  // ...
  showLauncher: false,
};
Widget Position
To set the widget's position, provide the position option in widgetOptions. Values allowed for position are:
- bottom-right
- bottom-left
- top-left
- top-right
The default value is bottom-right.
helpshiftWidgetConfig.widgetOptions = {
  // ...
  position: "bottom-left",
};
Widget z-index
By default, Helpshift Widget assigns a large z-index value to its widget (the widget launcher button and the widget window). If you want to use a custom value of z-index for Helpshift Widget, you can do so by setting the zIndex option in widgetOptions. You can only use a number with this option.
helpshiftWidgetConfig.widgetOptions = {
  // ...
  zIndex: 50,
};
Theming
You can configure the color scheme for Helpcenter and Web Chat directly from the Helpshift Dashboard. For more details, refer to For Support Admins: Configure the User Experience of Helpcenter and For Support Admins: Configure the User Experience of Web Chat in our Knowledge Base.
Bots
Bots can be enabled in Web Chat to automatically provide help and gather information from users to help your Agents resolve Issues faster. Helpshift has 3 default Bots:
- QuickSearch Bot - deflect common problems by automatically suggesting relevant FAQs to users
- Identity Bot - prompt your users for their name and/or email before they create an issue
- CSAT Bot - automatically ask for feedback after an Issue is resolved
For more details, refer to Set Up Your Web Chat Bots in our Knowledge Base.
Full Privacy
In the helpshiftWidgetConfig object at the time of initialization, setting the fullPrivacy option to true ensures COPPA compliance by:
- Disabling user-initiated screenshots (users will not be able to attach files, including images, using Web Chat).
- Making sure that Personally Identifiable Information (PII) such as name and email are not collected by Web Chat (using Identity Bot and/or the helpshiftWidgetConfig object). This means that if you set
userNameanduserEmail, withfullPrivacyset totrue, Helpshift will not use theuserNameanduserEmailvalues.
Moreover, in scenarios where the user attaches objectionable content, it becomes a huge COPPA compliance concern. This option helps to solve this problem.
Example Embed Code
// The following part remains as it is in the Embed Code.
var PLATFORM_ID = "<YOUR_PLATFORM_ID>",
  DOMAIN = "<YOUR_DOMAIN>",
  APP_ID = "<YOUR_APP_ID>",
  WIDGET_TYPE = "<WIDGET_TYPE>";

window.helpshiftWidgetConfig = {
  platformId: PLATFORM_ID,
  domain: DOMAIN,
  appId: APP_ID,
  widgetType: WIDGET_TYPE,
  // other options, if applicable
  fullPrivacy: true
};
Initiating chat
Developers can start a new chat when the previous issue is resolved, without needing any user action like clicking the New Conversation button or going through the post resolution flow like feedback bot for the previously resolved issue.
To do the above mentioned action, the developer will have to set initiateChatOnLoad config in window.helpshiftWidgetConfig and then use the updateHelpshiftWidgetConfig API to start the new chat when the previous issue is resolved.
Example Embed Code
window.helpshiftWidgetConfig.initiateChatOnLoad = true;

Helpshift("updateHelpshiftWidgetConfig");
To open the widget, Open Widget API can be used.
Initial user message
Initial user message configuration, initialUserMessage, helps you send the first message in a conversation on behalf of the user so that certain workflows are automatically triggered based on that message.
You should set this configuration before a conversation starts. In other words, it works only when there is no active conversation for the user i.e. when a new user opens the chat screen for the first time or existing user has already closed an ongoing conversation.
If you set this configuration in the middle of an existing conversation, it will not have any effect.
Example Embed Code
window.helpshiftWidgetConfig.initialUserMessage = "Some initial user message";

Helpshift("updateHelpshiftWidgetConfig");
Conversation prefill text
Setting conversationPrefillText in the config allows you to set some text in the user's input box. This text will be inserted provided that:
- There is no ongoing (active) issue for the user.
- Text inputs are enabled for new conversations (e.g. the User Reply Input Type is not "Only Intent Menu").
The end-user can edit this text before sending it. There is a limit of 1,000 characters for this configuration value, so only the first 1,000 characters will be kept in the user input.
We recommend keeping your actual text even shorter for a better user experience, since the user has to read and edit it before sending it.
Example embed code:
window.helpshiftWidgetConfig.conversationPrefillText = "INSERT YOUR PREFILL TEXT";
Helpshift("updateHelpshiftWidgetConfig");
To open the widget, Open Widget API can be used.
Showing a Particular FAQ Section
You can use this configuration to show FAQs from a particular FAQ section.
You will need the publish-id of the FAQ section to use this API:

Example embed code:
window.helpshiftWidgetConfig.sectionId = "333";
Helpshift("updateHelpshiftWidgetConfig");
Showing a Particular FAQ
You can use this configuration to show a single FAQ.
You'll need the publish-id of the FAQ to use this API:

FAQ ID takes precedence over Section ID. So if both are given, FAQ will be shown.
Example embed code:
window.helpshiftWidgetConfig.faqId = "645";
Helpshift("updateHelpshiftWidgetConfig");
FAQ Filtering by tags
We have FAQ filtering capability by tags. With the goal of helping the end user see focused & related content e.g. basis the user demographic or device profiles, developers can now choose this capability for FAQ filtering and showing a focused FAQ list to the right audience.
Typical cases why you would want to use FAQ filtering are :
- You want to show specific FAQs for specific audience. E.g. if you may categorize the users as ‘beginner’, ‘intermediate’ or ‘expert’ based on your business logic.
- You may want to show specific FAQs based on the device. E.g. a set of FAQs for iPad vs. iPhone.
FAQ filtering is a 2 step approach :
- FAQs need to be classified using the
<issue tags>field on the dashboard e.g. tagsiphone&ipad.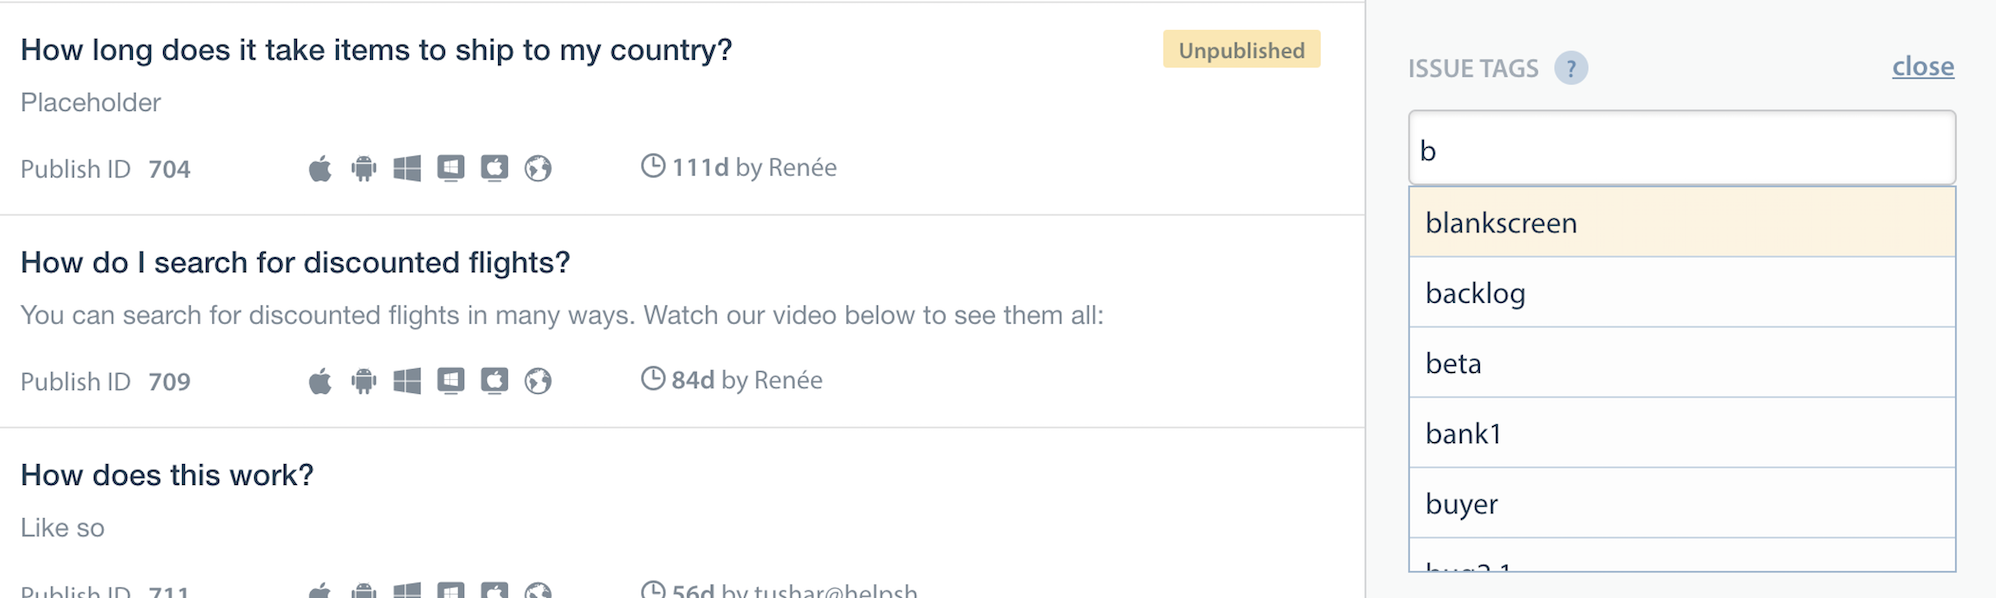
- Once the FAQs are tagged, they can be filtered in Helpshift Widget using the filter options described here.
Helpshift has 2 types of tags mainly ‘Issue Tags’ & ‘Search Tags’.
- Issue tags are used to filter the FAQ list in the Helpcenter on Helpshift Widget with the filter rules.
- Search tags (a.k.a Search Keywords) While searching on Helpcenter in Helpshift Widget it gives preference to these keywords. You can also use this to add alternative keywords that users might search for, but which may not exist in the FAQ title or the content.
How to use FAQ filtering
You can use this configuration by filter key in the helpshiftWidgetConfig config. The filter key will be an object containing 2 keys
- operator : one of
AND,OR,NOTwhich will serve as conditional operators for the given tags. - tags : the actual tags in the query
| Option: | filter |
| Sub-Options: | tags / operator |
| Default | nil |
Example embed code:
window.helpshiftWidgetConfig.filter = {"tags": ["game", "paid"], "operator": "AND"};
Helpshift("updateHelpshiftWidgetConfig");
You can have only one tag filter config which will be respected in the helpshiftWidgetConfig. Also the tag filtering respects only one operator.