Outbound Support
With outbound support, you can proactively engage with consumers to solve problems within the app. Read more about the feature here.
All the public APIs in the SDK should be called after initializing the SDK via Helpshift.install() API
This page describes the deprecated Outbound support feature that has limited functionality to target specific segment of end users.
We recommend using Proactive Engagement to enhance outbound support which lets you reach out to your players by sending Push/In app Notifications on their mobile devices and engage in various ways including starting conversations. For details please refer Proactive Engagement
The steps to use this feature are the following -
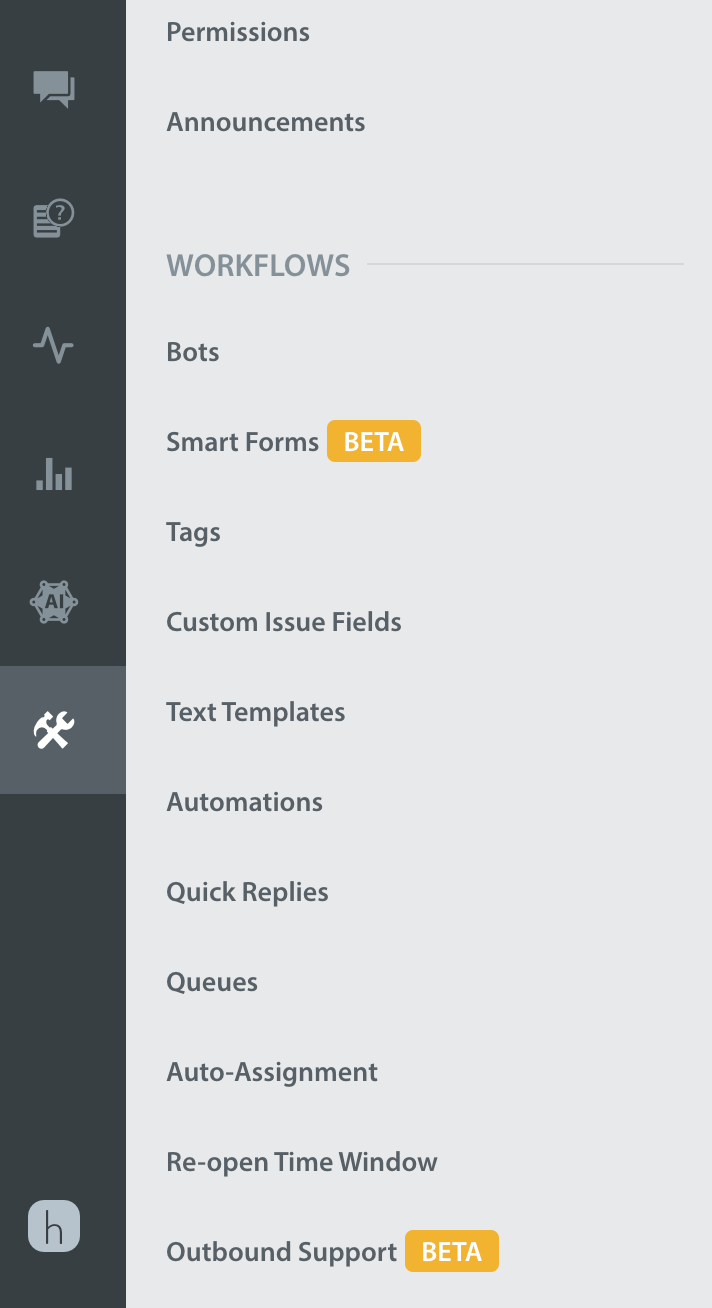
To generate the link for outbound support, on your Helpshift dashboard, go to Settings > Workflows > Outbound Support.
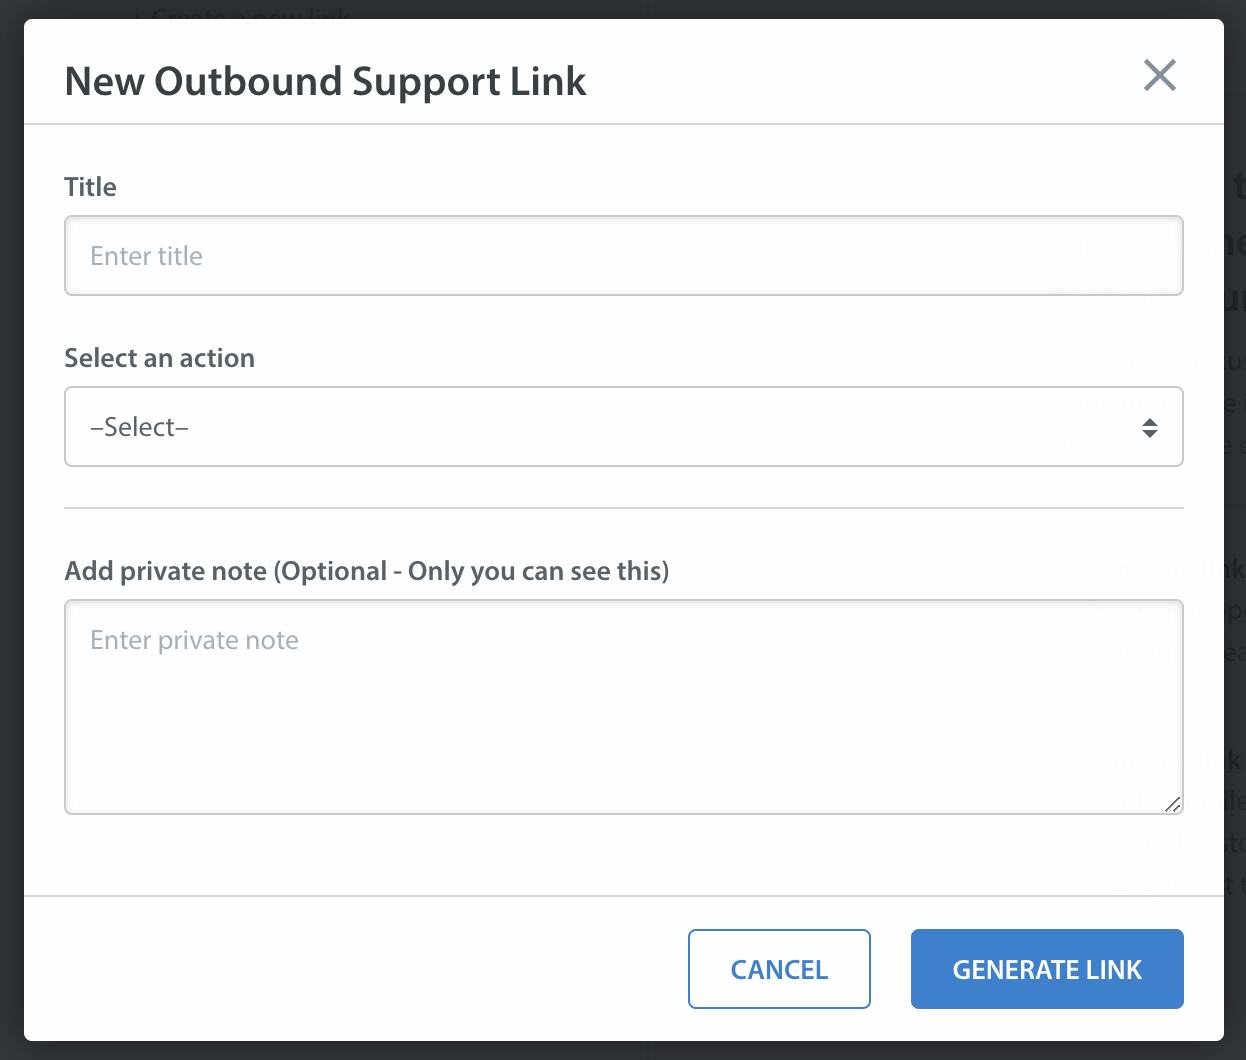
You should see a New link button. Click on the New link button and select an action like Chat, Help Center, Single FAQ or FAQ Section and other data like CIFs, Tags, First User Message you want to send as payload to Helpshift SDK.
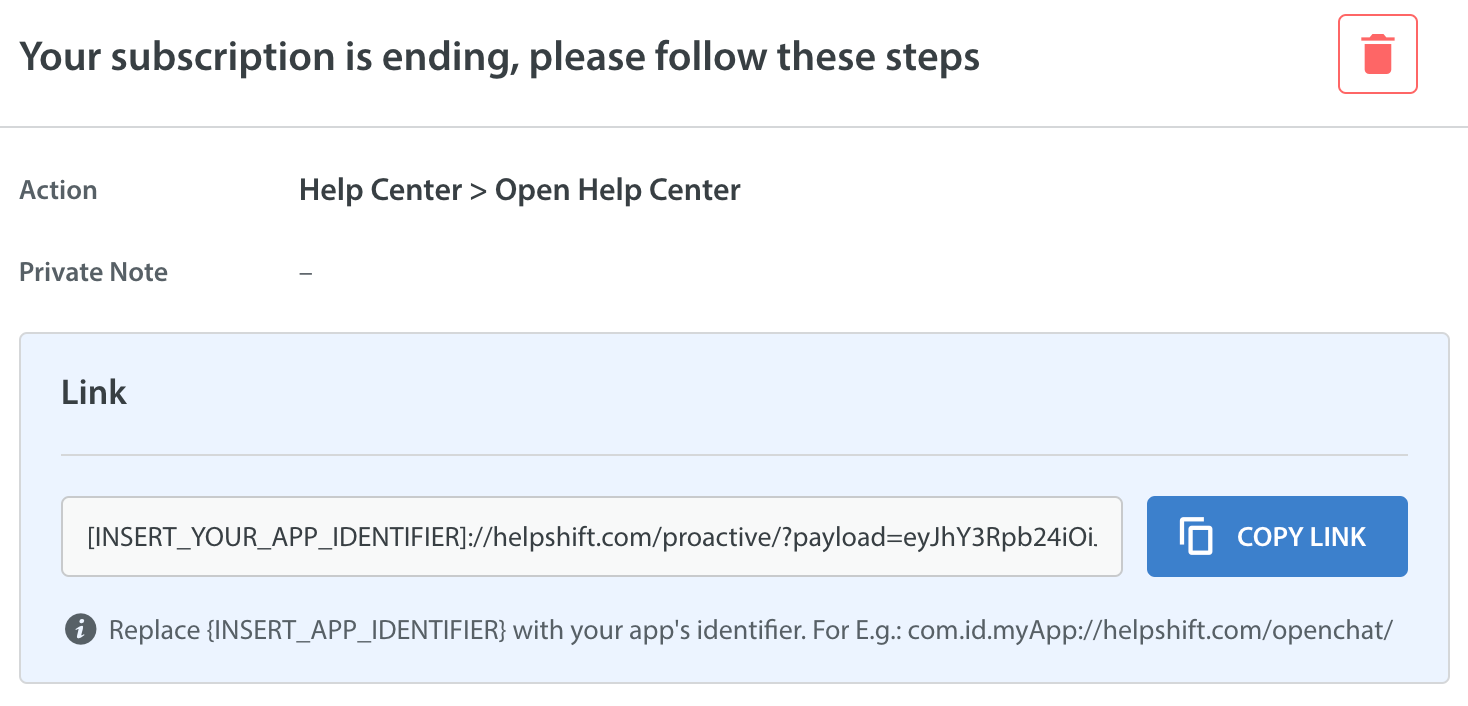
At last, you will get a URL encoded payload link. Send this link to your end-users embedded in a notification payload using your existing Push notification system.
YOUR_APP_IDENTIFIER: Can be any unique string that identifies your app. For example, like the scheme you would use in deep link URLs for your app like myApp , myAppSupport, etc.
Delegate push notification data to Helpshift
To pass the outbound support data to Helpshift, follow these steps -
-
Send push notification to the users you want to give outbound support using your app's existing push notification system
-
In your app, handle this notification such that when a user opens the app through notification, you pass the outbound support link in your notification data to Helpshift SDK by calling
Helpshift.handleProactiveLink(String link). -
We will read the data from the link you provided and open Helpshift support with the configurations you provided from outbound support dashboard.
For example, following code shows how to handle incoming push notification and posting it on the notification bar of the device -
@Override
public void onMessageReceived(RemoteMessage remoteMessage) {
  Map<String, String> data = remoteMessage.getData();
    String origin = data.get("origin");

    // This is a notification from Helpshift push notification system
    if (origin != null && origin.equals("helpshift")) {
      Helpshift.handlePush(data);
    } else {
    // This is not a notification from Helpshift system
    // This is your existing push notification system

    // Sample key in notification data where you will put the proactive support link generated from Helpshift dashboard
    String proactiveUrl = data.get("proactive_link");

    // Sample code to generate Push notification
    Context context = getApplicationContext();
    Intent intent = new Intent(context, HandleNotificationActivity.class); // Your notification handling class
    intent.setFlags(Intent.FLAG_ACTIVITY_NEW_TASK);
    intent.putExtra("proactiveNotification", true);
    intent.putExtra("proactiveLink", proactiveUrl);
    int pendingIntentFlag = Build.VERSION.SDK_INT < 23 ? 0 : PendingIntent.FLAG_IMMUTABLE;
    PendingIntent pendingIntent = PendingIntent.getActivity(
            context, new Random().nextInt(), intent, pendingIntentFlag);

    NotificationCompat.Builder builder = new NotificationCompat.Builder(context)
            .setContentTitle(data.get("title"))
            .setContentText(data.get("message"))
            .setSmallIcon(R.drawable.icon) // Set your icon for notification
            .setContentIntent(pendingIntent)
            .setAutoCancel(true)
            .setChannelId(CHANNEL_ID); // Set your app's channelId
      if (builder != null) {
        Notification notification = builder.build();
        NotificationManager notificationManager = (NotificationManager) getSystemService(NOTIFICATION_SERVICE);
        notificationManager.notify(0, notification);
      }
    }
}
When the user clicks on the notification, HandleNotificationActivity activity is started (as specified in the above code sample).
To delegate push notification data to Helpshift SDK, call Helpshift.handleProactiveLink() in HandleNotificationActivity's onCreate() method.
For Example -
Following code shows how to delegate push notification data by calling Helpshift.handleProactiveLink() to Helpshift SDK.
public class HandleNotificationActivity extends Activity {
    @Override
    protected void onCreate(@Nullable Bundle savedInstanceState) {
        super.onCreate(savedInstanceState);
        Bundle bundle = getIntent().getExtras();
        if (bundle != null && bundle.getBoolean("proactiveNotification")) {
            String url = bundle.getString("proactiveLink");
            Helpshift.handleProactiveLink(url);
        }
        finish();
    }
}
Passing configuration specific to the current user
You may want to add configuration specific to the current user in your app when they click on the notification.
Setting local API config enables the Helpshift SDK to merge configuration from both, the config embedded in the outbound support link (as mentioned in previous steps) and the local config provided at runtime. This local API config is exactly same as we would expect in other APIs like showConversation() or showFAQs().
We will use this configuration for current issue as well as next issue filed in same session.
You need to call this API after Helpshift.install() API and before Helpshift.handleProactiveLink()
Implement public interface com.helpshift.proactive.HelpshiftProactiveAPIConfigCollector and call Helpshift.setHelpshiftProactiveConfigCollector("<instance of HelpshiftProactiveAPIConfigCollector>") method to initialize the config collector.
You will have to implement the method getAPIConfig() where you can add any user specific config in the same format as you add in other public APIs like showConversation() or showFAQs().
We will merge this config and the config embedded in the outbound support link. We will append data of config from outbound support link to local config like Tags, CIFs, etc. In case of conflicts, outbound support config will get the precedence.
For example, following code shows how to implement HelpshiftProactiveAPIConfigCollector interface and how to add user specific configurations using getAPIConfig() method -
public class MainActivity extends AppCompatActivity implements HelpshiftProactiveAPIConfigCollector{
  @Override
  public void onCreate() {
    super.onCreate();
    //...

    // initialise proactiveConfig collector
    Helpshift.setHelpshiftProactiveConfigCollector(this);

    //...
  }

  //...

  @Override
  public Map<String, Object> getAPIConfig() {

    // config map
    Map<String, Object> localConfig = new HashMap<>();

    // set tags for tracking
    localConfig.put("tags", new String[]{"currentUserTag", "currentUserLevel"});

    // set custom issue fields
    Map<String, Object> cifMap = new HashMap<>();
    Map<String, String> isPro = new HashMap<>();
    isPro.put("type", "boolean");
    isPro.put("value", "true");
    cifMap.put("is_pro", isPro);

    localConfig.put("cifs", cifMap);
    ..etc
    return localConfig;
  }
}
The "customIssueFields" key has been deprecated. We strongly recommend transitioning to using the "cifs" key as the preferred method for passing custom issue fields.